

Introduction
In the previous post, we had a look at how to create a very basic API request and test the expectations in an automated way. In this post, we'll build onto that knowledge and learn how can we persist, share and run all tests together at once.
Note
I have realised that as we move ahead, our API will likely change in schema and behavior. So I have decided to create a branch per blog post. You can find the source for this post at this Github repo link. To summarize the changes, we've added implementation for each of the verbs, with absolute bare minimum validation.
WHY
As we've created our first test, it'd be obvious an entire API can not be tested using just one single test. Every CRUD operation would have at least 4 verbs and numerous variations of input per verb. Every API can have multiple endpoints, so clearly there're going to be a lot of requests we need to execute to test an API.
WHAT
As part of this, we'd be focusing on ensuring that every single request works as expected, every single time. We should also be able to save these somewhere so we can reuse and/or update the request set, rather than having to build from scratch every single time we want to test.
HOW
Postman makes our job easy by providing a feature called Collection. Collection in the very simplest of terms is a grouping of requests. Collections are further sub-grouped into Folders. This grouping may be API-based, endpoint-based, or any other grouping logic that will be fit for your purpose. For this specific post, we'd keep it simple and use one collection for our API.
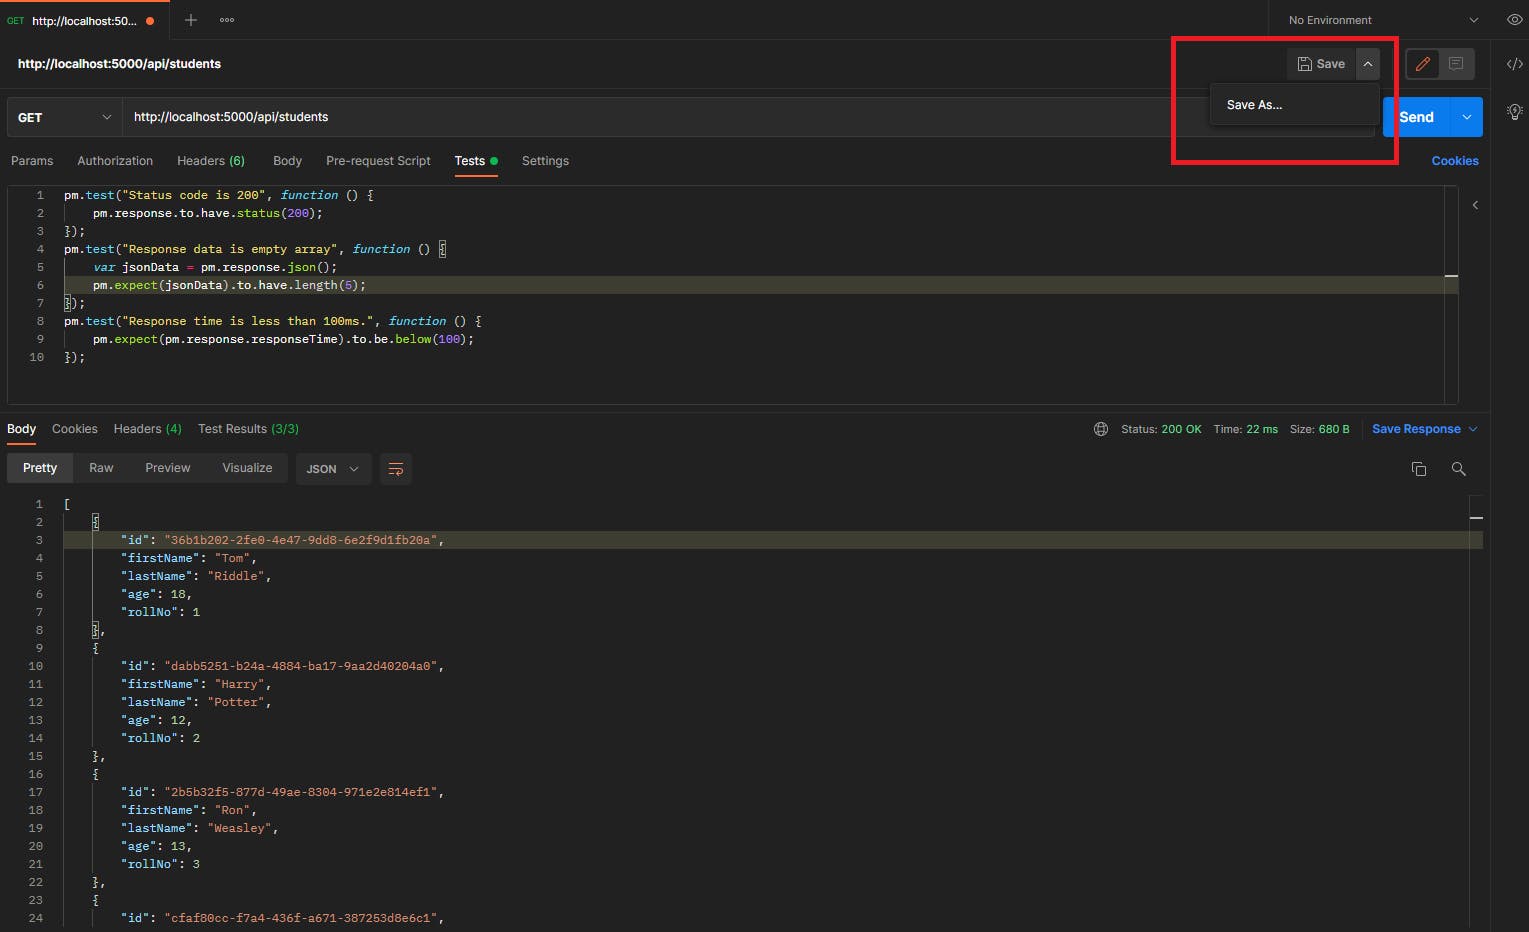
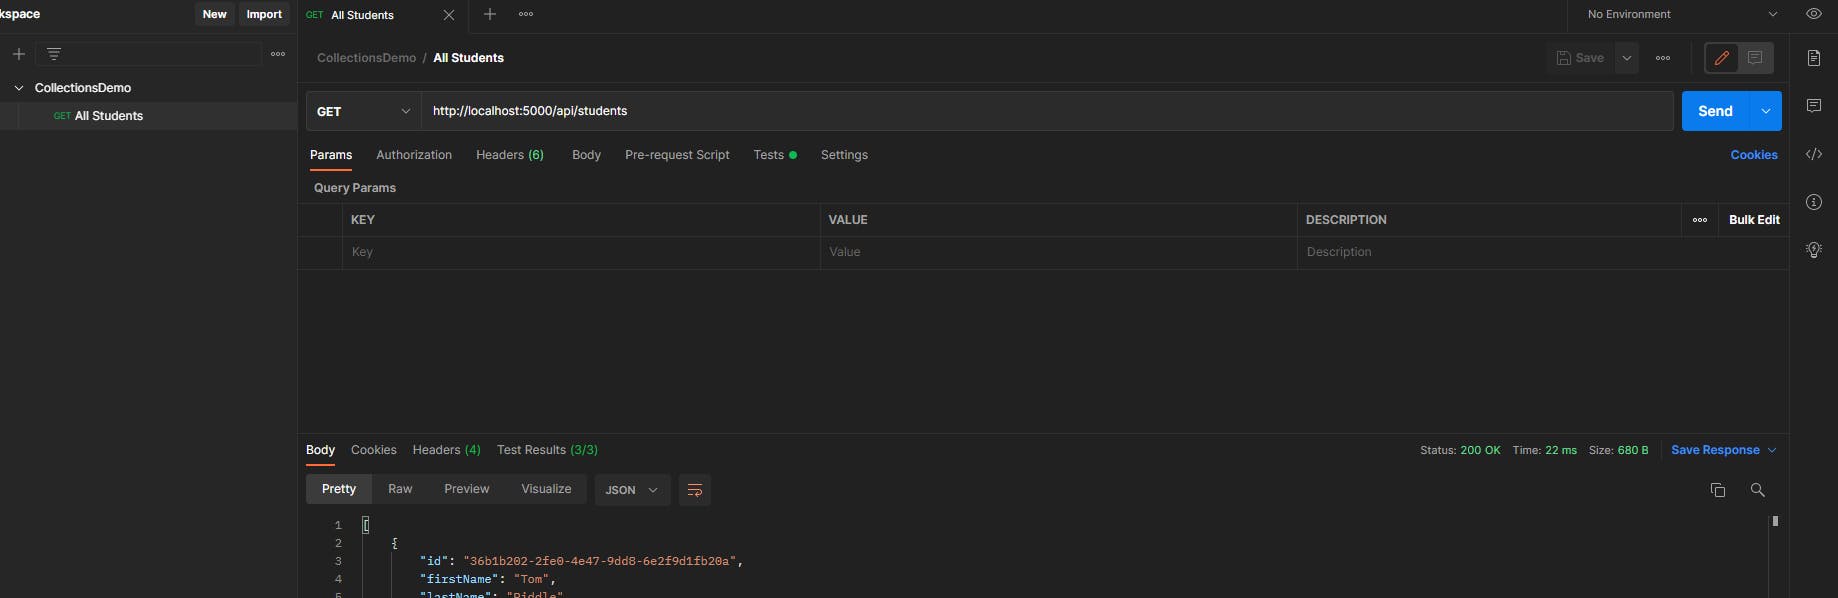
So continuing from where we left off in the last post, we should be having one GET request, with 3 tests, albeit this time we receive some pre-seeded data instead of an empty array.
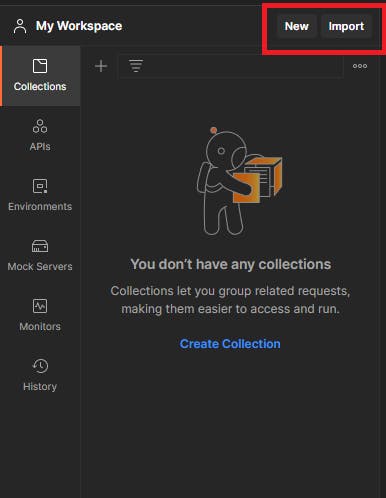
Click on Save As button (or Ctrl + Shift + S) -
Since no collection exists, click on create a collection and provide some meaningful name to the collection that will easily distinguish the collection and its grouping purpose. We'll call it CollectionsDemo.
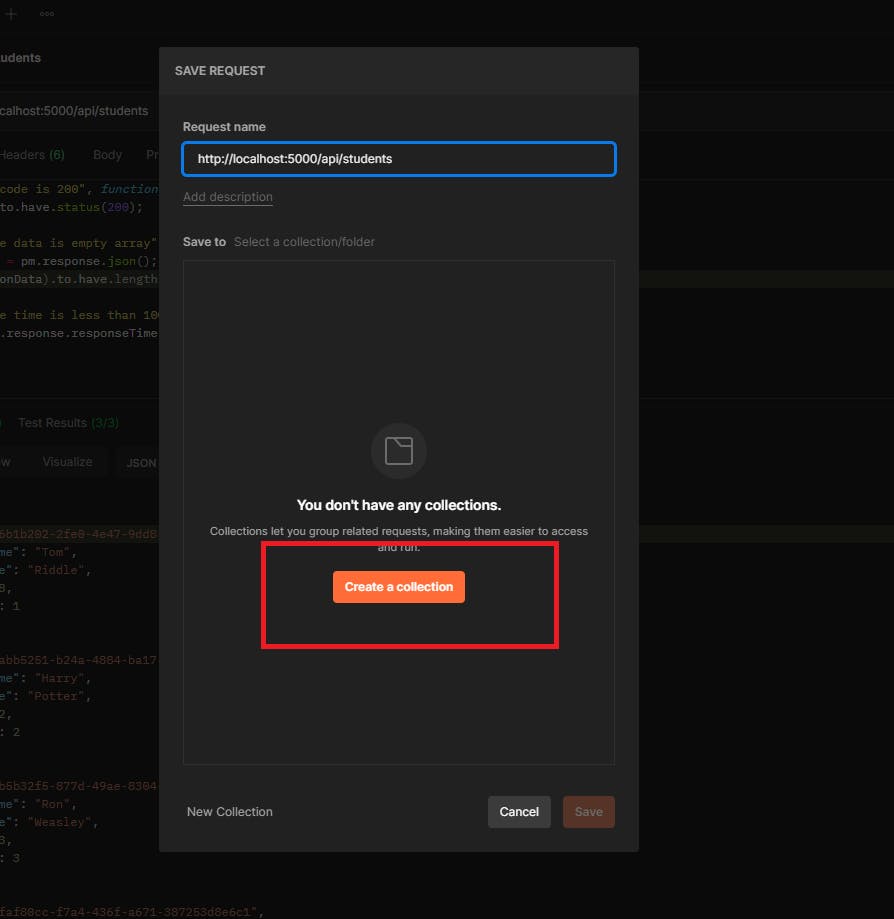
We can now either save directly to the collection or can sub-group into folders. Right now I will be saving it in collections, however, we'll use folders in the upcoming posts.
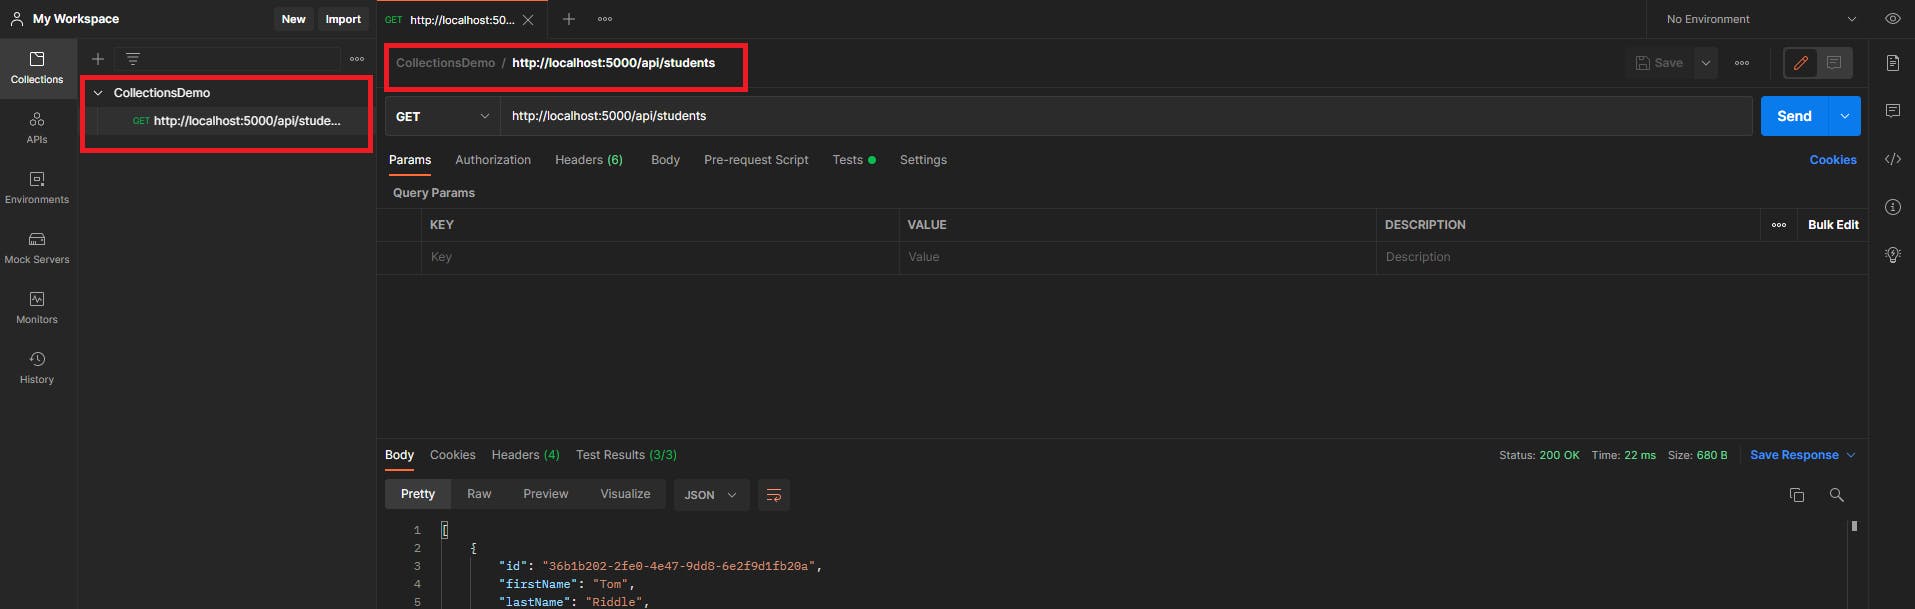
Once saved, it should look something similar to the above image. Notice those red boxes? While we've saved our request it is still in URL format which is quite inconvenient to figure out. So let's update our request name to something easier to understand and relevant. You can rename it by either right-clicking on the collection window (left box) or on the request itself (right box).
(Not so) PRO Tip:
You can also provide proper request names when you save them, rather than updating them retrospectively.
Get All Students would seem like a sensible name, however, since we're dealing with GET verb I would also avoid adding that to the request name.
There we go, looks neater already, doesn't it?
Now that we've learned how to create and save a request, let's add a few more requests so that all verbs can be covered. Using only one variation of the happy path, we can see that we needed 5 requests.
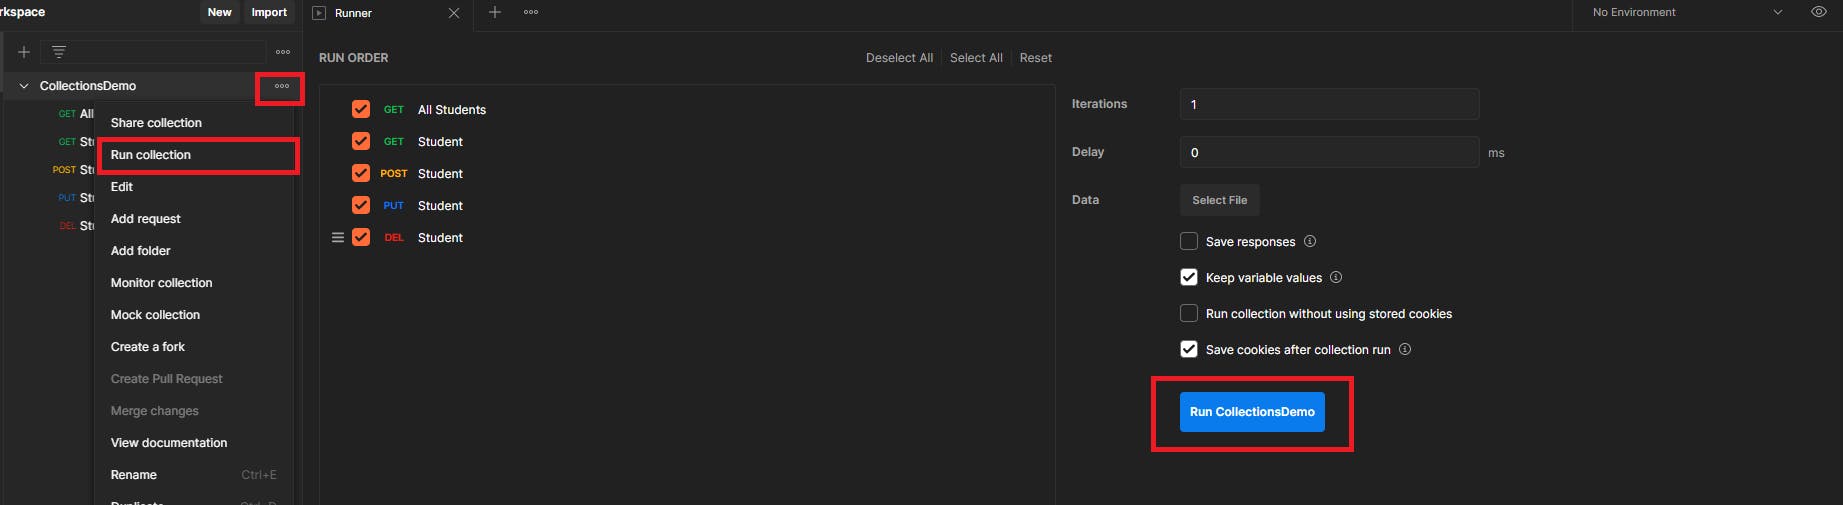
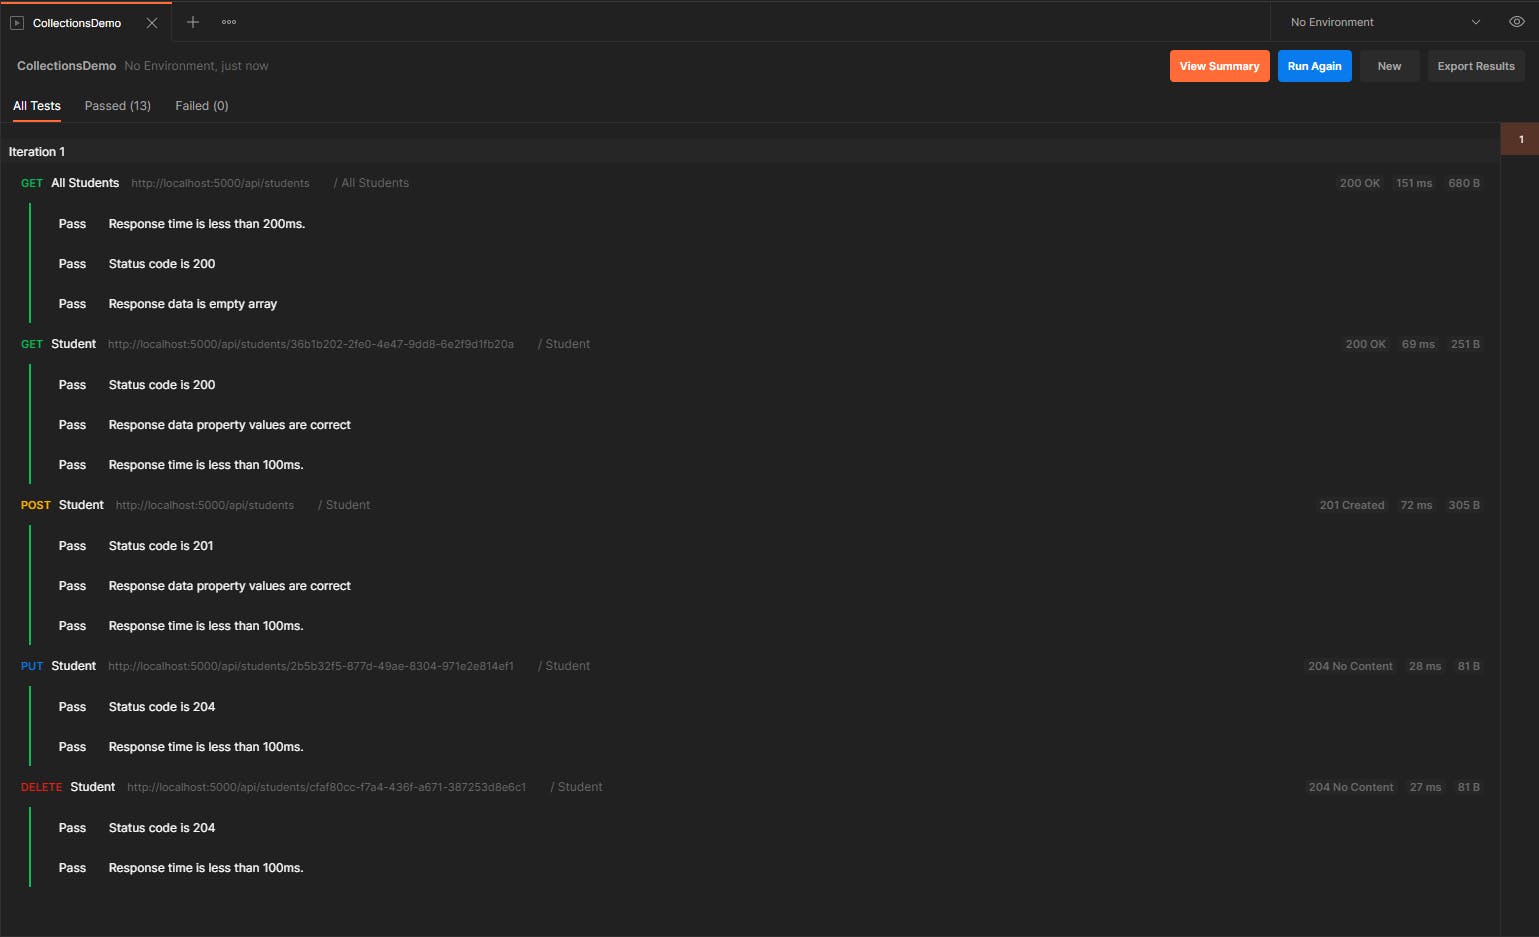
We can execute each of these requests manually and confirm all tests are passing, indicating that our requests are doing what is expected of them. Or even better is we can just run the entire collection together. Tests in a collection will be executed in the same order that you see them in Postman.
Note:
You may need to update the response time for 'All Students' (or the first saved request) to 200 ms due to warm-up time. We'd not get into warm-up requests at this time, however, it will become relevant in some of the upcoming posts.

So far we've completed writing multiple requests and saving them for later use within Postman GUI. For various reasons like sharing, reusability, or the forever under-appreciated paranoia of disasters, we'd want to store them somewhere external to GUI as well. Postman provides the feature to store the collection externally and to also import an already stored collection.
Export Collection
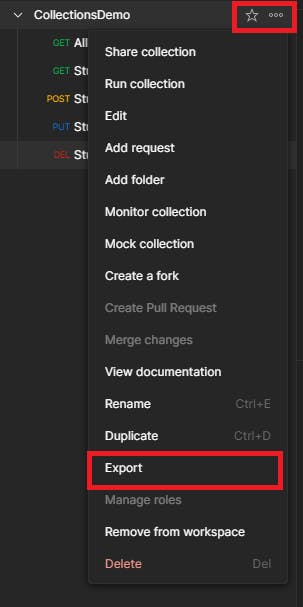
To export a saved collection is very simple. Click on the ellipsis (three dots) in front of the collection name and select export from the given list.
We'll use the recommended version and then provide some location on our local machine.
Import Collection
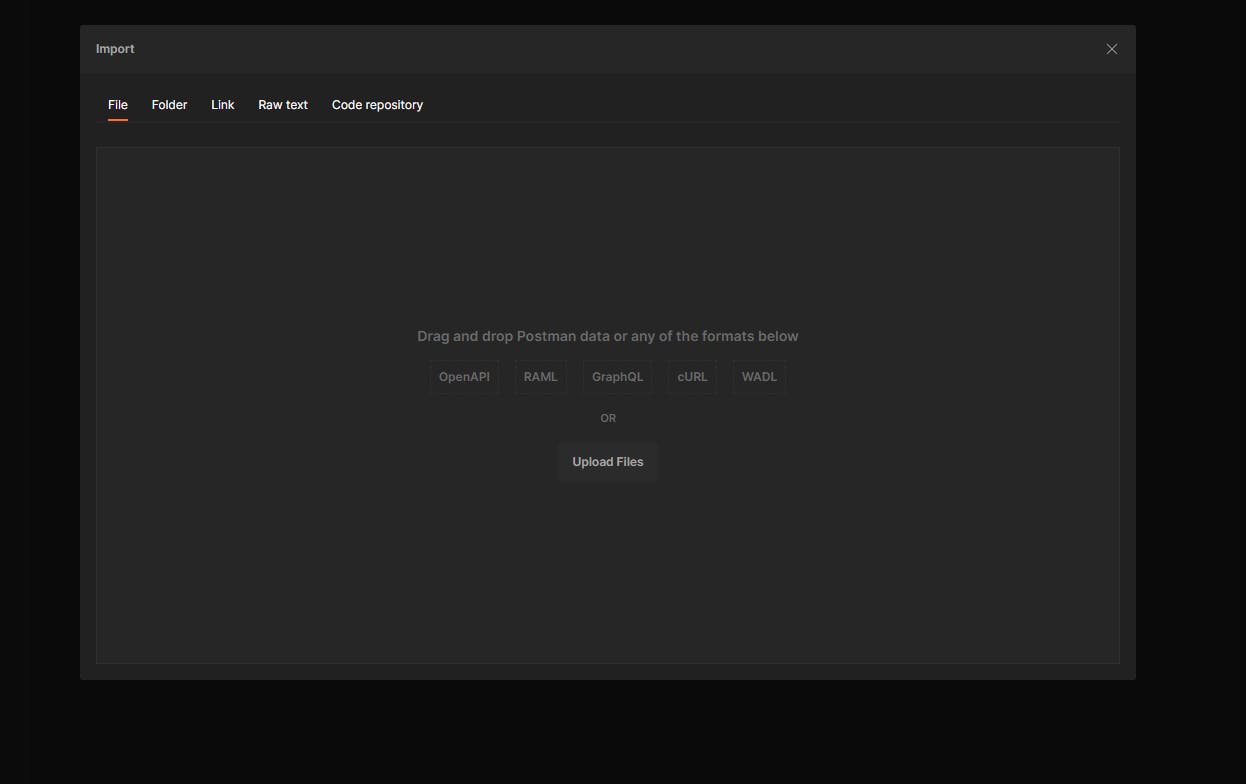
Assuming we're going to share, collaborate and reuse the collections, it is highly likely that the creator of the collections is the developer who developed/updated the API. So as a peer developer/tester you might just want to use the same collection and maybe add more scenarios etc. In such cases, you'd likely want to import an existing collection. There're many sources of importing available, and you can choose whatever seems best for you.
Running Collection
Now that we know we can import/export a collection, let's look at if we can also run the collection without having to use GUI. This will also be a step in the direction of automating API testing.
We can run collections using a tool called Newman. This tool needs Node.js, and hence you should install node.js on your system.
Once Node.js is installed, we can install the Newman tool by running
npm install -g newman.Now that we've Newman installed, we can run tests using
newman run <collection_file_path>. So assuming I am executing this from inside the same directory where the collection file is, I would be runningnewman run CollectionsDemo.postman_collection.json
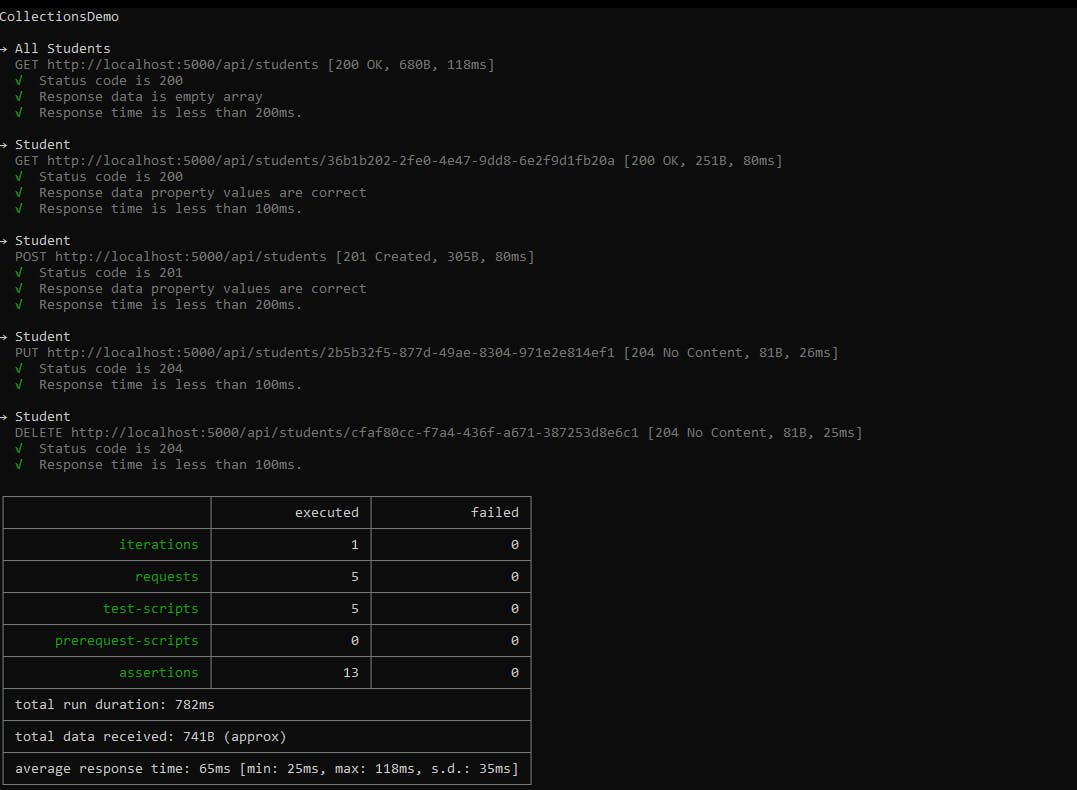
As you can see we're now able to run the collection outside of Postman GUI. This may be handy and time-saving for local development, as well as useful in a CI/CD pipeline.
Summary
So far we've learned, how to create requests, add tests to them, group the requests in collections, import/export these collections, and run them all together using Newman.